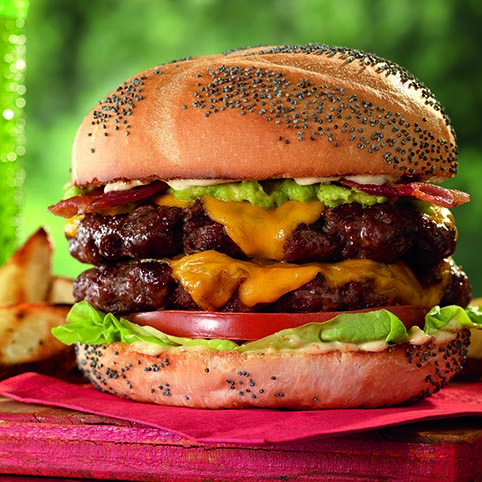
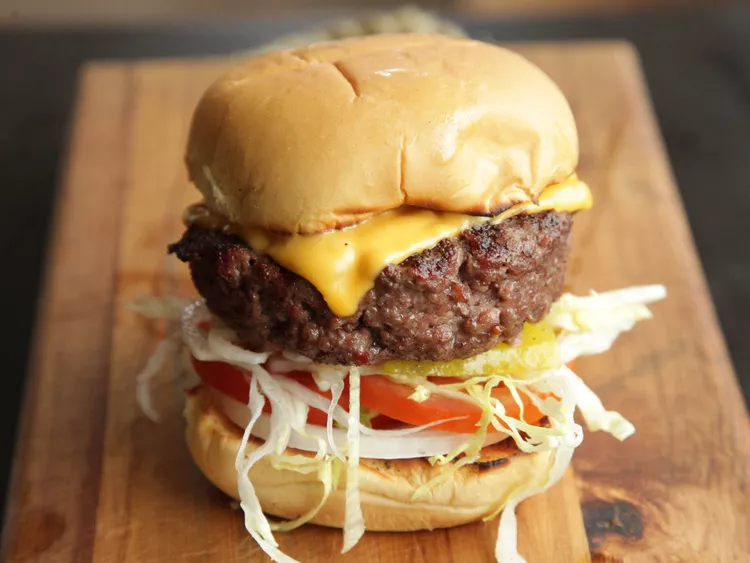
FIVE STEPS TO A GREAT BURGER AND HOW TO GRILL THE IDEAL STEAK
Can’t get to your favorite restaurant? Become the grill pro …
If you are the chief cook with someone else, hopefully, as the chief bottle washer, you have been making dinner almost every night lately with a few take-outs to support your local restaurants. Perhaps, you have challenged your culinary skillset with learning new things like how to make crusty loaves of sourdough bread, a Thai curry main dish or sheet pan suppers.
Five Steps to Burger Brilliance
1. Meat Matters
When you buy prepackaged ground beef from no particular cut, you will probably get scraps from an assortment of relatively mild cuts. You can still make some good burgers with this meat, but don’t be afraid to ask the butcher to grind some chuck just for you, maybe mixing in some sirloin for extra favor.
2. Thorough Seasoning
Ground beef alone makes a pretty dull-tasting hamburger, so make sure that the meat is mixed throughout with at least salt and pepper. Other ingredients, like Worcestershire sauce, hot sauce, or grated onions, will improve not only the taste but also the juiciness of your hamburgers.
3. Portion Control
The ideal thickness for a raw patty is ¾ inch. If it’s any thinner, it’s likely to overcook and dry out before a nice crust develops on the outside. If it’s much thicker, the crust might turn black and unappetizing before the center reaches the safe internal doneness level of medium. Be gentle when forming the patties, too. If you compact the meat too much, the patties will be tough.
4. Dimpling
Burgers tend to puff up in the middle as they cook, making the tops rounded and awkward for piling on toppings. A good trick for avoiding this problem is pressing a little indentation into the top of each raw patty with your thumb or the back of a spoon. Then, when the center pushes up, the top of each burger will be relatively level.
5. Handling the Heat
The grill has to be hot (400° to 500°F) and clean. Close the lid as soon as the patties hit the grate. Grill them for 8 to 10 minutes, turning only once. And don’t smash the burger down with a spatula – the juices will run out quickly and cause flare-up.
How to Grill the Perfect Steak
Aside from burgers and hot dogs, steaks hit the grill more often than just about anything else. I grew up eating a grilled steak every Saturday night, and sitting down to a good steak once a week is still part of my routine. Why? Because it’s just doggone good eating.
Here are some tips on how to cook the perfect grilled steak.
Buy good meat. Grass-fed and grass-finished beef tastes better and has a bolder flavor that holds up particularly well against the lick of the grill’s flames.
Simple seasoning. I sprinkle steak liberally on both sides with salt and pepper when I take it out of the refrigerator, which seems to help it form a nice crust over the fire. Chefs have different opinions about salting. Some salt a steak the night before, some after the steak is cooked. I have tried both, and I find that my way still works best. I also like to brush steaks on both sides with a little olive oil (not extra-virgin). This facilitates the heat transfer, so you get an evenly browned crust and a delicious steakhouse flavor.
Timing is important. There’s nothing worse than a rubbery, tasteless, overcooked steak. Professionals use touch to gauge doneness, and so can you. Touch your index finger to your cheek. When the meat feels this way, the steak is rare. Touch the tip of your nose. That firmness equates to medium. Your forehead is well done. But please don’t go there.
Let it rest. If you cut into a piece of beef as soon as it comes off the grill, you will lose precious juices. Give the proteins in the steak the opportunity to unwind a little bit from the heat they have just experienced. Let most steaks rest for at least 5 minutes—10 minutes is even better—to give the juices time to redistribute evenly throughout the meat.
Goes great with. Skip the steak sauce—a pat of plain or compound butter (like the black-pepper butter in this recipe) is the perfect finish. Some great sides: chopped salad, grilled asparagus with lemon mayonnaise, and mashed potatoes.
T-Bone Steaks with Black-Pepper Butter
Makes 6 servings
Black-Pepper Butter
½ cup unsalted butter, at room temperature
2 tablespoons chopped shallots
1 tablespoon cracked pepper
1 teaspoon steak sauce
Kosher salt
6 T-bone steaks, each about 10 ounces and 1½ inches thick
Kosher salt and freshly ground pepper
6 tablespoons olive oil
To make the black-pepper butter, place the butter in a small bowl. Using a fork, work in the shallots, pepper, and steak sauce, distributing them evenly. Season with salt.
Transfer to an airtight container and refrigerate to harden. Or, if you want to get fancy, spoon the butter into a rough log shape near one long edge of a 12-by-6-inch sheet of waxed paper. Roll the paper over the butter, and press the butter into a solid, uniform log. Continue rolling the waxed paper around the butter, and twist both ends to seal securely, then refrigerate. (The butter will keep refrigerated for up to 1 week or frozen for up to 1 month.)
At least 30 minutes before you are ready to begin grilling, remove the steaks from the refrigerator. Season the steaks generously on both sides with salt and pepper.
Prepare a charcoal or gas grill for direct grilling over high heat. Brush and oil the grill grate.
Brush the steaks on both sides with the oil. Place the steaks on the grill directly over the fire, and cook for about 3 minutes. Using tongs or a wide spatula, rotate each steak a quarter-turn (90 degrees). This will give you those beautiful crisscrossed grill marks that
will impress your neighbors. Continue cooking for another 2 to 3 minutes, then turn the steaks. Cook until well-marked and done to your liking, another 5 minutes for medium-rare, or until an instant-read thermometer inserted horizontally into the center of a steak away from bone registers 135ºF.
Transfer the steaks to warmed plates. Put a healthy pat of the butter on each steak and let the steaks rest for 5 to10 minutes. Serve to oohs and aahs.


